How to install AIO Store Locator on Magento
To create your own Store Locator on Magento, you need to have:
- Account on AIO Store Locator. If you don't have it yet, navigate to AIO Store Locator Dashboard and sign up for free today
- Store set-up on Magento. Navigate to Magento Sign-in Page. If you don't have it yet, navgate to Magento Sign Up Page and create your Magento Account.
Step 1: Log-in to your Magento admin dashboard
Navigate to your admin dashboard by visiting the Magento Log-in Page and enter your login credentials you used while setting up your store

Step 2: Add a Store Locator page
A- From your Magento admin dashboard, go to Content > Pages
B- Click Add New Page if you are creating a page for the first time or edit an existing page

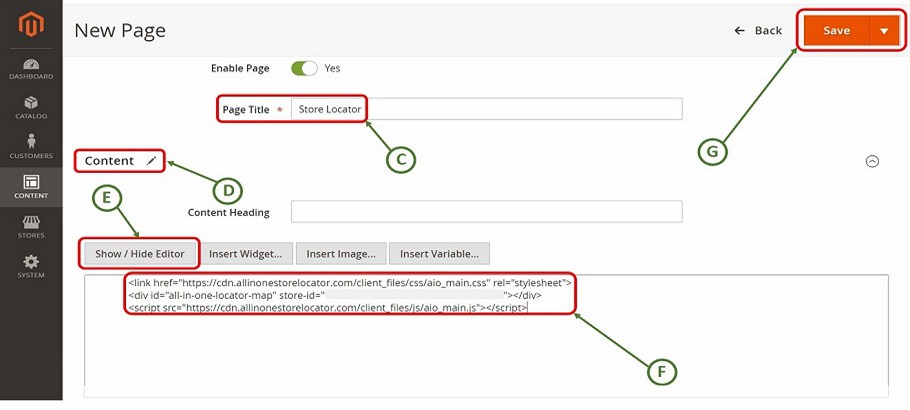
Step 3: Enter details to add a page
C- Add any name as a Page Title for the new page. Note: Page name will be displayed with your website page URL in the address bar
D- Click an Edit button next to Content
E- Click on Show/Hide Editor button
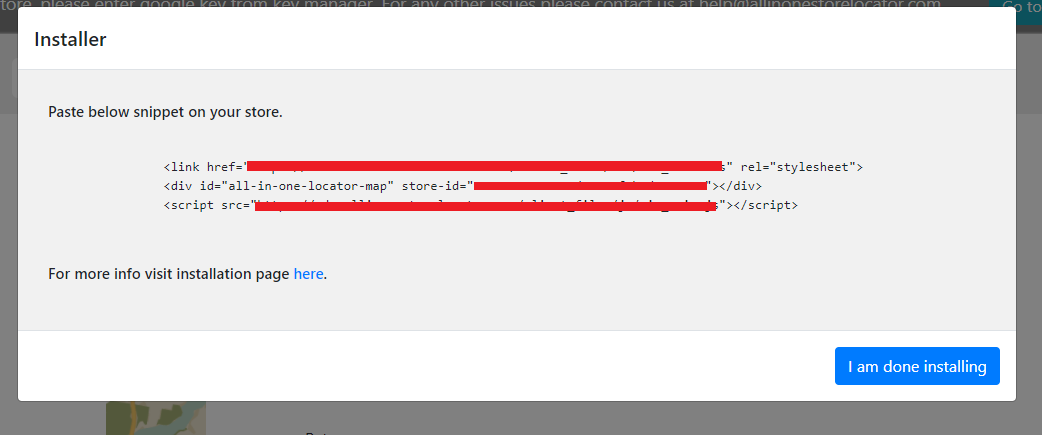
F- Login to your AIO dashboard by visiting AIO Store Locator login page.Copy the HTML snippet from AIO Store Locator Dashboard > Installer and paste it in the Category Description section.
G- Click Save
Step 4: View Store Locator Preview
H- Go back to Content > Pages and Click View under Section to see the preview of your new store locator

Congratulations!! Your AIO Store Locator installation on Magento is successful. Please verify it.
Copyrights © 2026 allinonestorelocator.com All Rights Reserved